
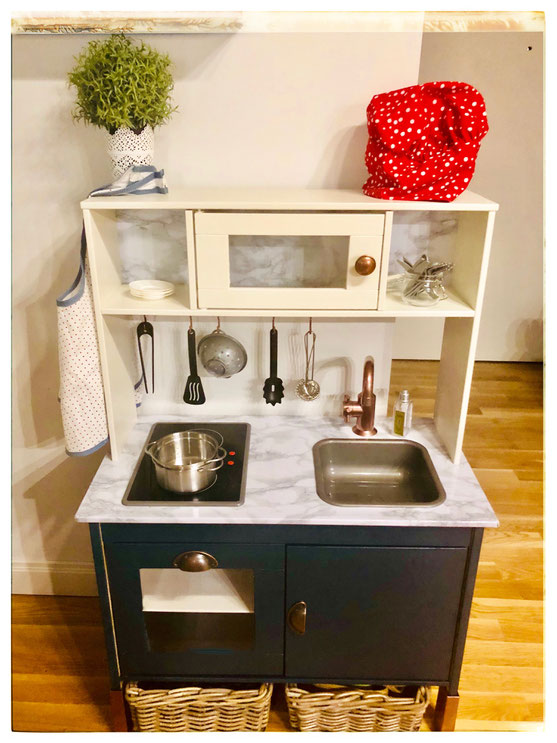
At last we finally finished our play kitchen Ikea hack.
Whilst researching some months ago, we had come across a great inspiration via Pinterest and actually led me to discover and follow a blogger I absolutely love (Justalittlebuild).
She inspired us so much that we decided to offer this to Baby Lifestylette for christmas.
Only we kind of stopped for a few weeks after having purchased the kitchen and left it lying around in its box - thank goodness, she didn't really realize yet and had been spoilt by her grand-parents: does that make us bad parents?
Over the past weeks, we had been searching online for the right material we were still missing: a marble self-adhesive vinyl film, some copper handles, sand paper and so on. We funnily enough also had some Farrow & Ball paint left over from our guest bathroom remake so planned on using that.
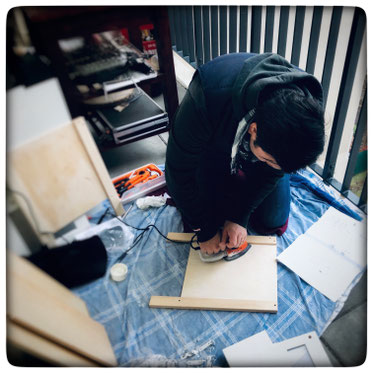
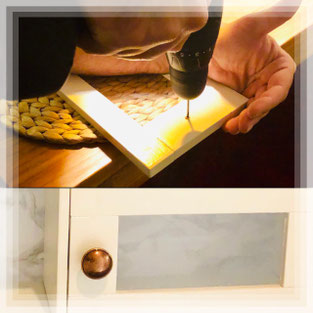
So LFSTYLT husband started using his grinding machine - he convinced me it was a bad idea to do it all by hand which I had done previously for a cupboard we had pimped and it was a nightmare.
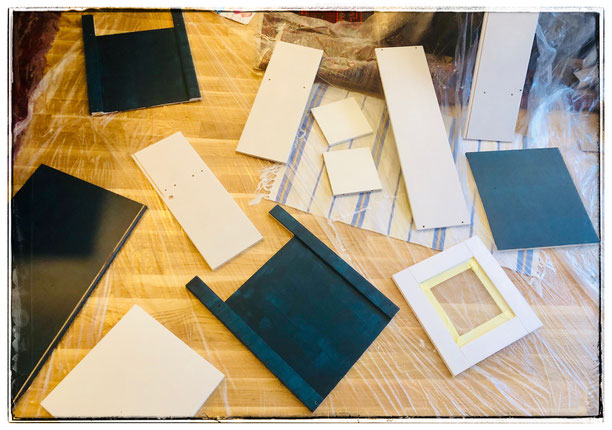
Not forgetting to fill-in the holes of the three kitchen doors as we didn't plan on using the handles but our own.
So far so good - OK we had to do the fill-in part twice and it didnt look very professional but thought it would be hidden by the paint.
At least partially.
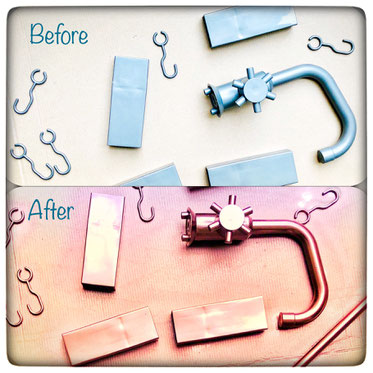
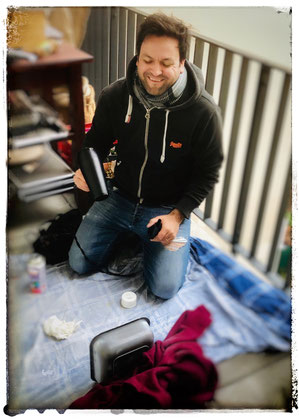
Then we sprayed the kitchen accessories (tap, etc.) in copper - that also went smoothly.
The kitchen sink in white spray was a catastrophe, more to that later so we left that for the moment.
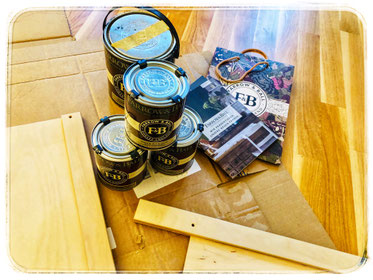
We then proceeded to the first coat of paint...and discovered with surprise that all our paint had frozen and could not be used.
The DIY was just going great.
However, the trip to Farrow & Ball did actually help us avoid another element we kind of had forgotten all about: the undercoat.
Loaded with pots we drove off back home to our living room which by now was transformed in a construction site - no way we were going to paint in that cold!
At that point I realized we would not be able to finish this over one week end.
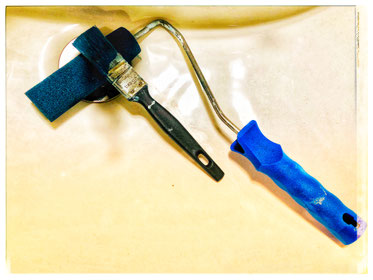
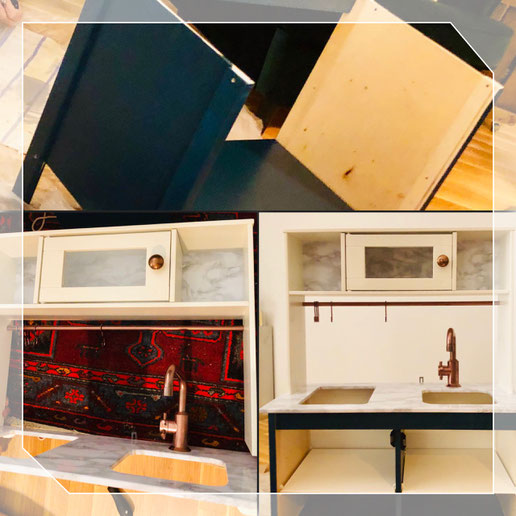
So we just started the painting every four hours - we of course had only one sponge roller so it was great fun when we came to the painting part to wash between Oldschool White and Hague blue, dry the sponge roller with a hairdryer to not have water in the paint and avoid mixing Hague Blue with Oldschool White.
And I am ever so happy that I did remember that from the blog where she used a sponge roller - our painting almost looked almost professional! I think that this is the part we best achieved.
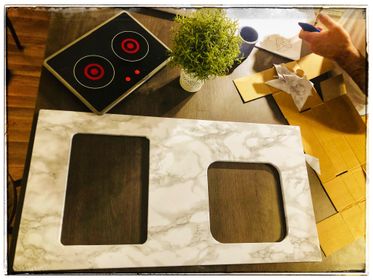
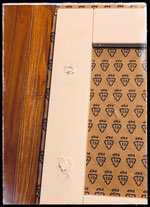
Between drying of coats, we attacked the application of the marble foil.
We obviously were thankful that I had bought what seemed to be kms of the stuff as we of course managed to get tons of bubbles in the first attempt and had to perfection our technique.
It kind of looked like this: on our kitchen bar, LFSTYLT husband stretching the film in one direction to avoid any bubbles interfering with the adhesion of the film, me trying to smooth out centimetre by centimetre as the foil was unfolded and at some point lying on the already finished part to avoid some bubbles magically coming through the other side. I was happy no one was there to see us & that Baby Lifestylette was having a nap at that moment.
With a cutter knife, LFSTYLT husband neatly cut through both holes which would eventually host the sink and cooker and tadaaam we were finished and only had a bunch of bubbles. OK one really shouldn't look at the back side but who cares, no one would ever see that, right?
Then came a moment where I nervously laughed instead of crying - you know that moment where it is the only alternative to not have a nervous breakdown?
Me: " You did check which side we were sticking the foil on didnt you?"
Him: "Euhhhhhh....." rushing outside to find the building instructions.
I could already see us tearing the film apart and starting over new on the other sides for hours and probably my kms of film were only just cms now...
After what seemed for ages, he thankfully confirmed, that we had - by luck - stuck the film on the right side. Once again, amateur DIY-couple at work!
If we hadn't already been admirative of bloggers doing this so professionally, by now we were: it is SUCH hard work and no matter how hard you try, yours just doesn't look that cool.
Pause from paint smelling apartment until the next week end.
Discover the next week end that half the cautiously painted parts had stuck more or less to something different meaning yet again painting sessions over the week end
Discover that the sink, sprayed by LFSTYLT husband in small steps with hairdryer usage to avoid paint leaks during a pretty exhaustive process has completely cracked and either you can go for 1) spray over it and risk a catastrophe, 2) scrape the cracked paint off and keep in original color, 3) keep as such.
We went for 2).
Finally, last hours of sunday evening, we were ready to put everything together - I must admit this went pretty (surprisingly) smoothly.
We had feared screwing our handles and making the wood explode but were pretty lucky as all seemed and still seems ok.
LFSTYLT husband managed to assemble everything in an hour (!) and then we were ready for the actual fun part: putting all the little kitchen accessories in their place and impatiently wait for Baby Lifestylette to wake up and shriek in delight - which she did :)
Write a comment